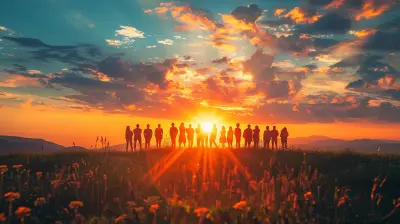
Travel Photography: A Beginner’s Guide to Capturing Sunrises and Sunsets
21 March 2026
There’s something magical about the sky at dawn and dusk. The soft, warm glow, the ever-changing colors, and the peaceful atmosphere make sunrises and sunsets some of the most picturesque moments in travel photography. But capturing them perfectly? Well, that takes more than just luck.
If you're new to photography, don’t worry—I’ve got you! This guide will help you understand the techniques, equipment, and tricks needed to take breathtaking sunrise and sunset photos that you’ll be proud to share.

Why Sunrise and Sunset Photography is So Captivating
Sunrises and sunsets are nature’s way of putting on a show. The colors shift from deep purples and blues to fiery reds, oranges, and soft pinks. The lighting is also softer during these golden hours, reducing harsh shadows and creating a dreamy effect. It’s no wonder photographers chase these moments around the globe!But, getting a perfect shot isn’t as simple as pointing your camera at the horizon and clicking away. Timing, composition, and settings all play a crucial role. 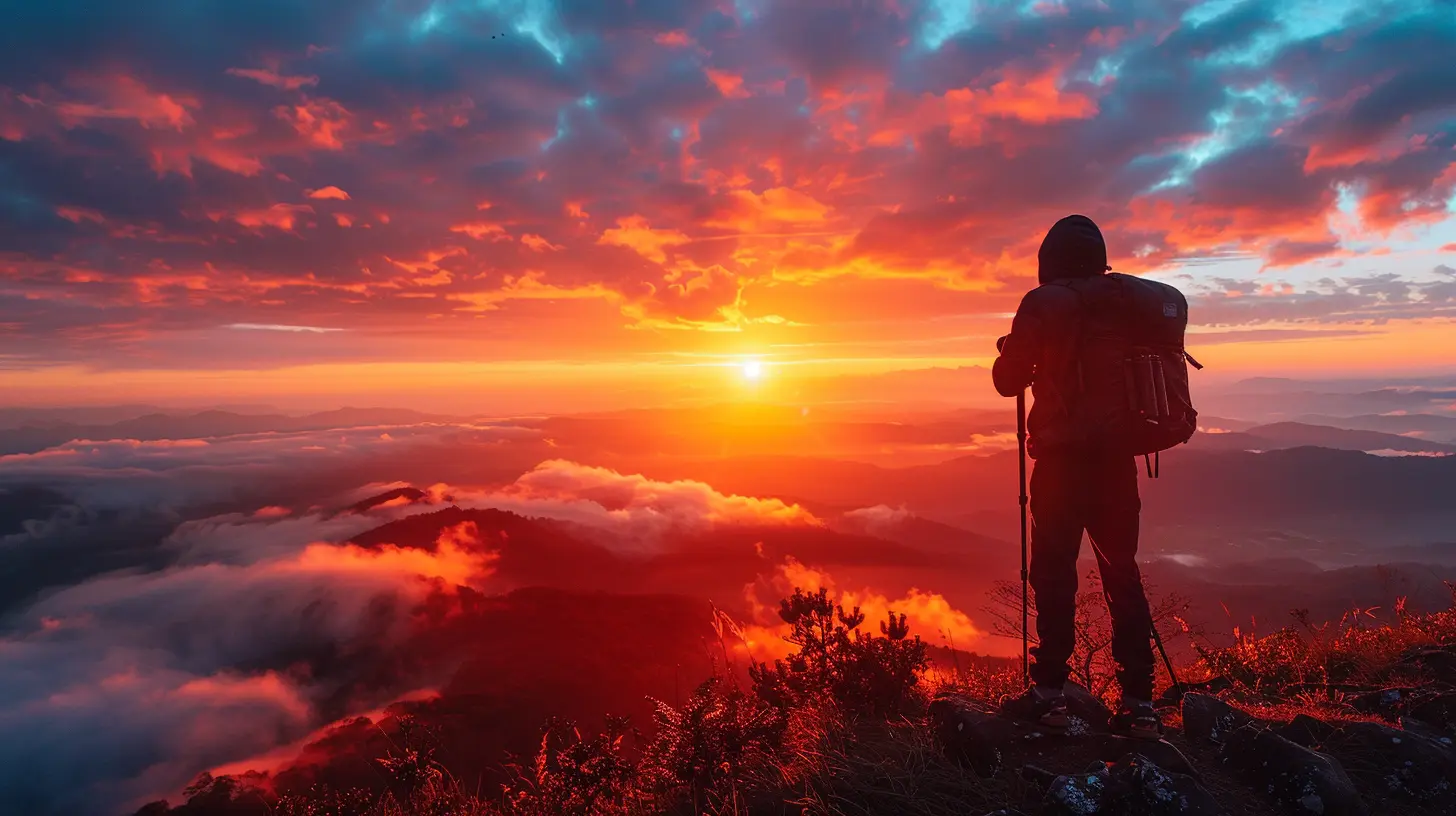
Essential Equipment for Stunning Sunrise and Sunset Shots
Before diving into techniques, let’s cover the essential gear that will help you maximize your results.1. A Good Camera (But Smartphones Work Too!)
A DSLR or mirrorless camera is ideal since it gives you full control over settings. However, if you're using a smartphone, it’s totally possible to capture incredible shots, especially with newer models that have pro settings.2. A Tripod
Low light conditions during sunrise and sunset often require slower shutter speeds. A tripod will keep your camera steady and prevent blurry shots.3. ND Filters
Neutral Density (ND) filters help control the amount of light entering your lens, giving you more flexibility with exposure settings. This is especially useful for long-exposure shots where you want to smooth out water or clouds.4. Remote Shutter or Timer
Even the slightest movement can cause blur, so using a remote shutter or your camera’s timer ensures you get a crisp shot without vibration.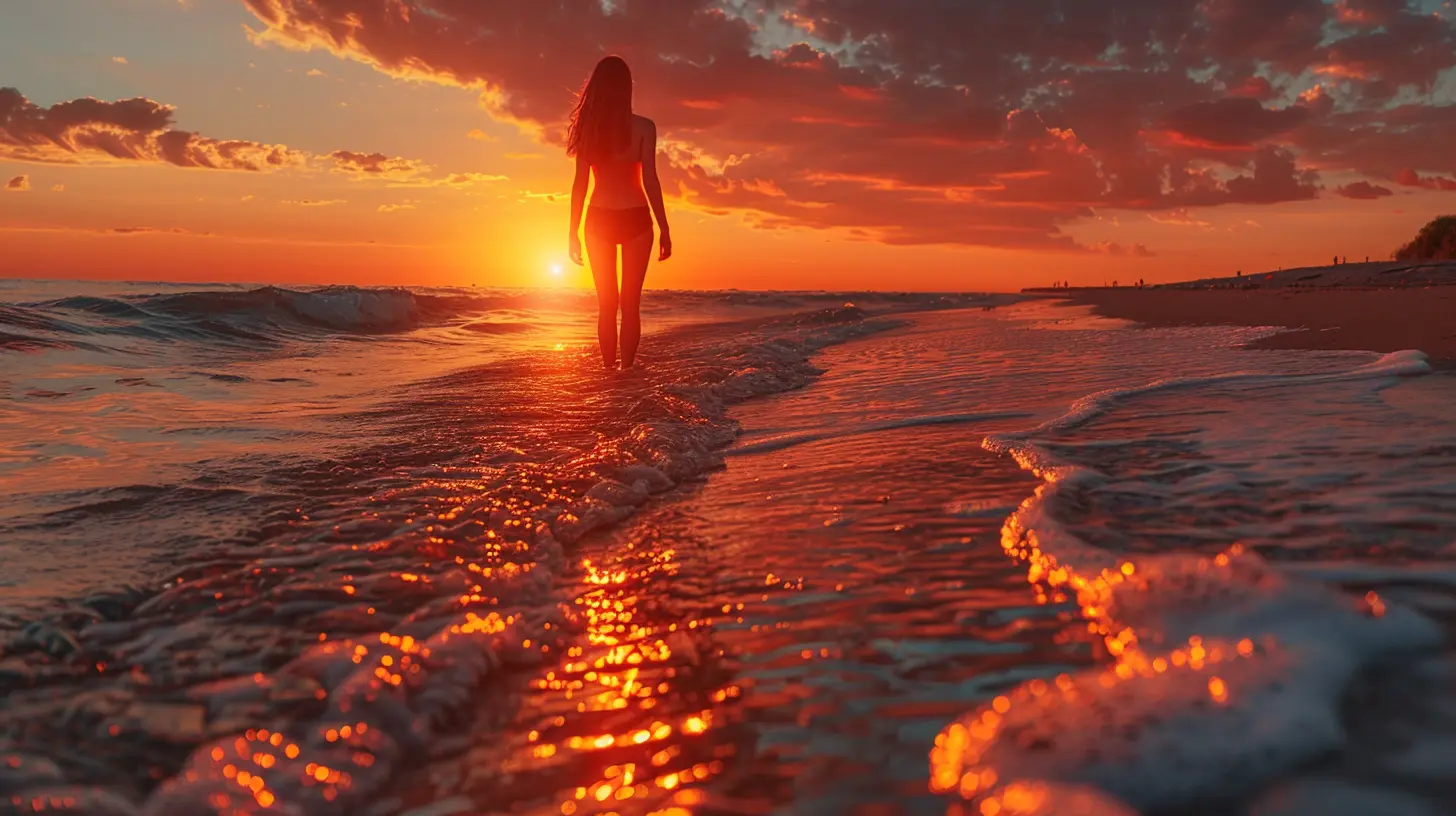
The Best Camera Settings for Capturing Sunrises and Sunsets
Now, let’s talk about the technical side. Using the right camera settings can make all the difference in capturing the vibrant colors and details of a sunrise or sunset.1. Adjust Your ISO
Keep your ISO as low as possible (100-200) to reduce grain and noise in your images.2. Use a Small Aperture (Higher f/Number)
For landscapes, an aperture between f/8 and f/16 keeps everything in focus while creating a stunning depth of field.3. Experiment with Shutter Speed
- For crisp shots: Use a faster shutter speed (1/100 or higher).- For dreamy effects (like water reflections): Slow it down (1-3 seconds or more).
4. White Balance Matters
Try setting your white balance to "Cloudy" or "Shade" to enhance the warm tones in the sky. If you want to capture a cooler mood, adjust accordingly.5. Shoot in RAW
RAW files retain all the image data, giving you more flexibility to edit exposure, colors, and details without losing quality.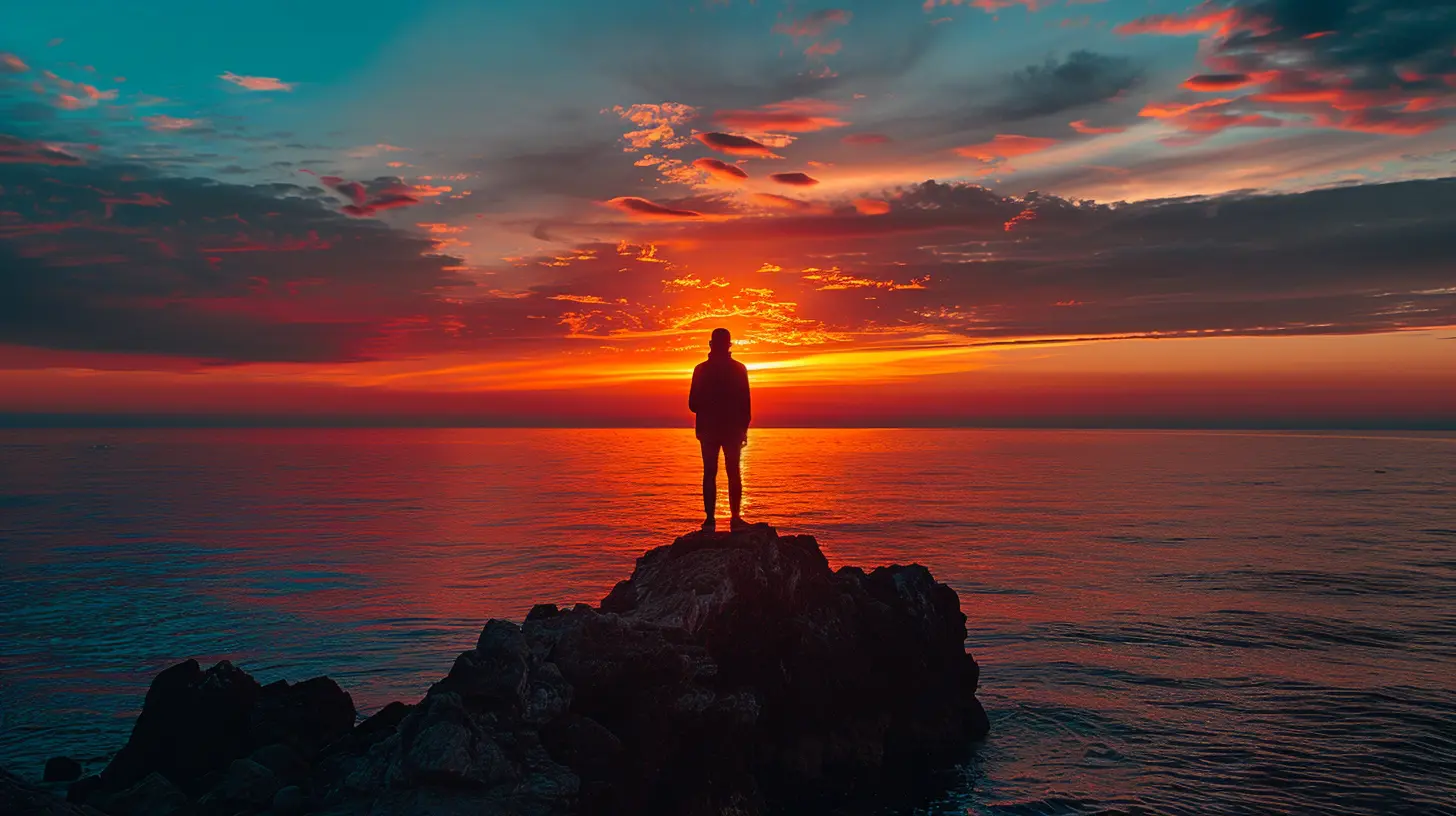
Composition Tips to Elevate Your Shots
Even with perfect settings, bad composition can ruin an otherwise stunning photo. Here’s how to frame your shot like a pro:1. Follow the Rule of Thirds
Position the horizon along the upper or lower third of your frame rather than putting it right in the middle. This creates a balanced and visually appealing shot.2. Include a Foreground Element
Adding a silhouette, tree, rock, or person in the foreground gives depth and perspective, making your photo more engaging.3. Look for Leading Lines
Use roads, riverbanks, or cloud formations to naturally lead the viewer’s eye toward the sunrise or sunset.4. Capture Reflections
If you're near a body of water, use the reflection of the sky to create a mesmerizing mirror effect.5. Change Perspectives
Don’t just stick to eye level—try shooting from low to the ground or even from an elevated position for a unique angle.Timing and Planning: When and Where to Shoot
Timing is everything when it comes to capturing the best lighting and colors.1. Arrive Early
The most stunning sunrise and sunset moments happen before and after the sun crosses the horizon. Arriving 30-45 minutes early gives you time to set up and capture pre-sunrise or post-sunset hues.2. Use Weather Apps
Clouds can make or break your shot. Use apps like Photopills, The Photographer’s Ephemeris, or Sky Guide to track sunrise/sunset times and weather conditions.3. Pick the Right Location
- Beaches and lakes are perfect for reflections.- Mountains offer dramatic silhouettes.
- Cities provide stunning skyline shots with glowing buildings.
4. Stay A While
Don’t pack up immediately after the sun rises or sets—the best colors often appear right after the sun has dipped below the horizon.Editing Your Sunrise and Sunset Photos
Even if you nail the shot, a little post-processing can enhance your photos even further.1. Adjust Exposure and Contrast
Brighten up shadows and slightly increase contrast to make colors pop.2. Enhance Warm Tones
Increase the highlights and saturation of oranges, reds, and yellows for a richer sunset look.3. Reduce Noise
If you shot at a higher ISO, use noise reduction tools in Lightroom or Photoshop to smooth out grainy areas.4. Crop Smartly
If your original framing isn't perfect, cropping can help improve composition and remove distractions.Common Mistakes (And How to Avoid Them)
Even experienced photographers make mistakes—here’s how to avoid the most common ones:1. Overexposing the Sky
If your sky looks washed out, lower your exposure or use HDR mode to balance highlights and shadows.2. Ignoring Foreground Details
A plain sky shot can be boring—always look for interesting foreground elements.3. Not Using Manual Mode
Auto mode often struggles with lighting extremes. Learn to tweak settings manually for better control.4. Relying Too Much on Editing
Post-processing enhances a good shot—it can’t fix a bad one. Aim to get the best possible shot in-camera first.Final Thoughts
Capturing sunrises and sunsets is one of the most rewarding aspects of travel photography. With a bit of preparation, patience, and practice, your shots will go from decent to jaw-dropping in no time.So, grab your camera, wake up early (or stay out late), and start chasing those golden moments! Who knows? Your next shot might just be the one that takes your photography to the next level.
all images in this post were generated using AI tools
Category:
Travel PhotographyAuthor:

Winona Newman
Discussion
rate this article
2 comments
Margaret Sheppard
This guide is a fantastic starting point for beginner photographers! Capturing the magic of sunrises and sunsets can transform your travel experiences. The tips on composition and lighting are especially helpful. Just remember to experiment and enjoy the moment—sometimes the best shots come when you least expect them!
April 6, 2026 at 3:09 PM
Winona Newman
Thank you for your kind words! I'm glad you found the guide helpful. Enjoy capturing those magical moments!
Lyla McCarty
Great insights! Your tips on capturing sunrises and sunsets are incredibly helpful for beginners. I can't wait to put them into practice during my next adventure. Thank you!
April 1, 2026 at 3:29 PM
Winona Newman
Thank you so much! I'm thrilled you found the tips helpful. Enjoy your next adventure!