Exploring the Golden Hour: When to Capture Perfect Travel Photos
19 May 2025
Travel photography is all about capturing the magic of a destination, but harsh sunlight or dull skies can ruin even the most beautiful locations. That’s where the Golden Hour comes in—the short window of time after sunrise and before sunset when natural light transforms ordinary scenes into breathtaking masterpieces.
If you’ve ever wondered why your favorite travel photos lack that warm, cinematic glow, it’s because timing matters. Let’s break down when, where, and how to make the most of the Golden Hour for stunning travel shots.
What is the Golden Hour?
The Golden Hour refers to the period shortly after sunrise and just before sunset when the sun sits low on the horizon. Unlike midday light, which can be harsh and unflattering, Golden Hour light is soft, diffused, and rich in warm tones.During this time, shadows are longer, contrasts are softer, and everything takes on a golden hue—perfect for travel photography. Because the sun is at a lower angle, it creates a natural glow that enhances landscapes, portraits, and even architecture.

Why is the Golden Hour Ideal for Travel Photography?
Photography is all about light, and the Golden Hour is the best time to capture truly mesmerizing travel shots. Here’s why:1. Soft, Warm Lighting
During the Golden Hour, sunlight takes on warm orange and red tones. Unlike the harsh midday glare, this lighting softens details, resulting in a dreamy, picture-perfect look.2. Longer Shadows for Depth
With the sun lower in the sky, shadows become elongated, adding depth and texture to images. This effect makes landscapes look more dramatic and portraits more dynamic.3. Minimal Harsh Contrasts
Midday sun creates strong contrasts between highlights and shadows, which can make an image feel flat or overly exposed. During the Golden Hour, lighting is more evenly distributed, producing a balanced, natural effect.4. More Flattering Portraits
Ever noticed how people look better in the evening or morning light? That’s because Golden Hour lighting is softer and more forgiving on skin tones, eliminating the harsh shadows that can emphasize imperfections.5. Rich, Vibrant Colors
Golden Hour enhances the natural colors in a scene, making skies look richer, water more dazzling, and landscapes more vivid. This is especially beneficial for travel photography, where vibrant colors make a photo stand out.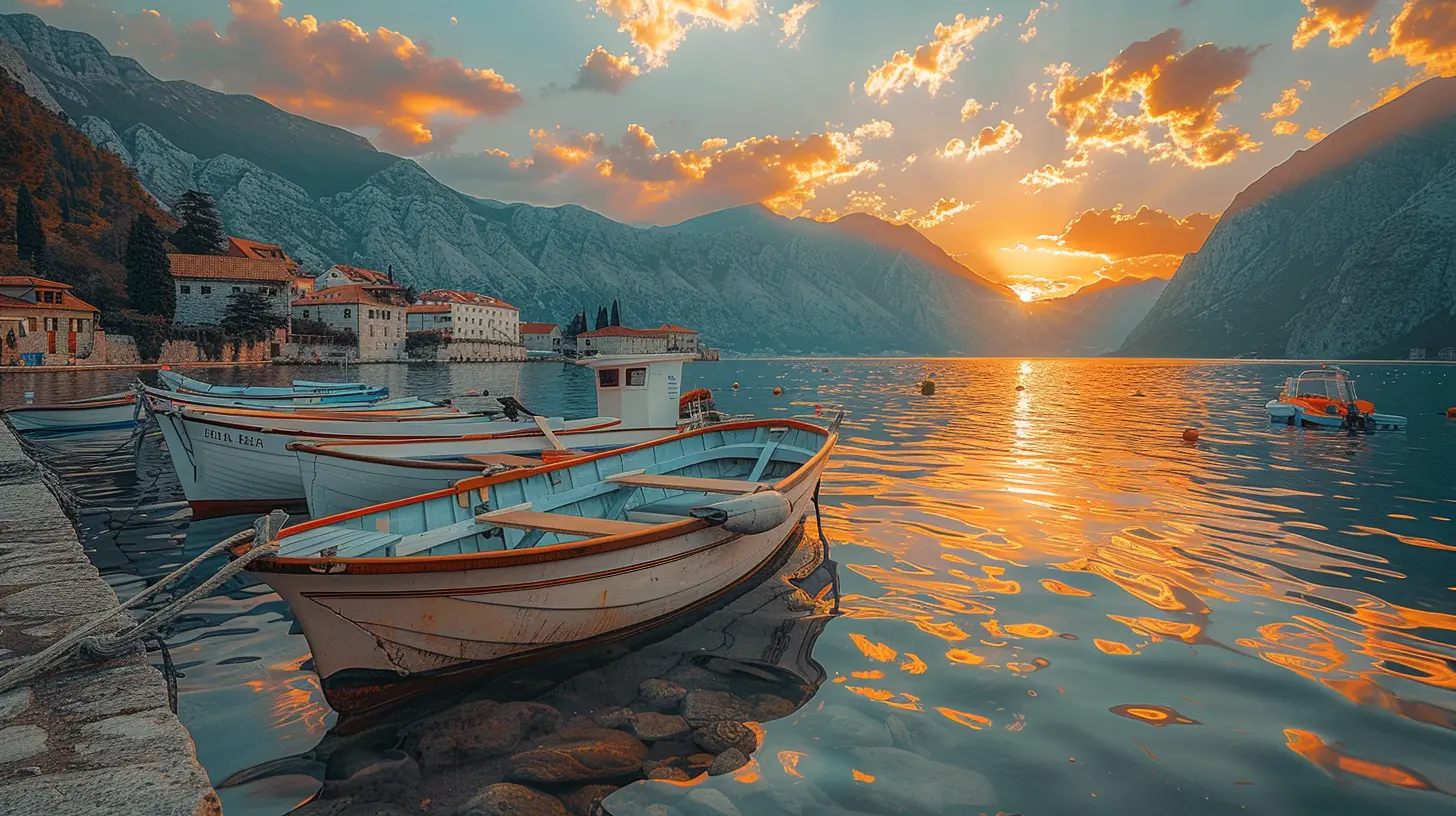
How to Find the Exact Golden Hour
The Golden Hour isn’t the same everywhere. Depending on your location and the season, it might last anywhere from 30 minutes to an hour. Here’s how to track it:- Use Apps – Apps like PhotoPills, The Photographer’s Ephemeris, or Golden Hour One can help determine the exact timing based on your location.
- Check the Weather – Cloudy days can mute Golden Hour effects, while clear skies enhance them.
- Understand Seasonal Changes – Summer offers longer Golden Hours, while winter provides a shorter window of opportunity.
Best Golden Hour Photography Techniques
Even if you’re shooting at the right time, knowing a few techniques can help you make the most of the Golden Hour. Let’s dive into some pro tips:1. Shoot Towards the Light (Backlighting)
Positioning your subject in front of the sun creates a stunning backlit effect. This technique works especially well for portraits, where a glowing outline forms around your subject.2. Use the Sun as a Natural Spotlight
Positioning the sun behind you illuminates landscapes with warm, even lighting. This works wonderfully for cityscapes, street photography, and capturing historic sites.3. Look for Reflections
Water surfaces reflect Golden Hour light beautifully, adding symmetry and depth to your shots. Try shooting near lakes, rivers, or even wet streets after rain.4. Play with Silhouettes
Golden Hour is the perfect time for silhouette photography. Position your subject against the brightest part of the sky, adjust your exposure, and create a dramatic, eye-catching contrast.5. Experiment with Different Angles
Don’t just shoot at eye level—try low-angle shots to capture elongated shadows or frame your subject against the glowing sky.6. Use a Tripod for Stability
Since Golden Hour light is less intense than midday, you might need a slower shutter speed, which can increase camera shake. A tripod ensures sharp images, especially in low-light settings.7. Adjust White Balance for Extra Warmth
Your camera’s automatic white balance might neutralize some of the warm tones of Golden Hour. Use the “Cloudy” or “Shade” setting to enhance the golden glow.8. Shoot in RAW for Flexibility
Golden Hour can change quickly, and shooting in RAW format allows you to adjust exposure, contrast, and colors in post-editing without losing quality.Choosing the Best Golden Hour Locations for Travel Photography
Certain places become especially magical during Golden Hour. Here are a few travel photography hotspots where this light works wonders:1. Beaches and Coastal Destinations
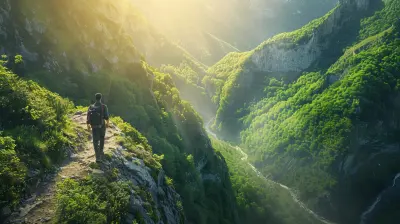
Golden Hour light transforms beach scenes into dreamy, postcard-perfect landscapes. Soft waves, glowing sand, and a sky full of warm hues make for stunning compositions.2. Mountains and Valleys
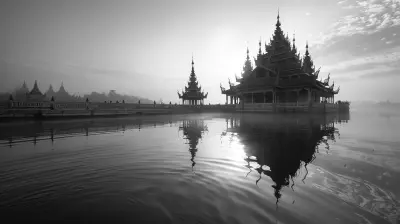
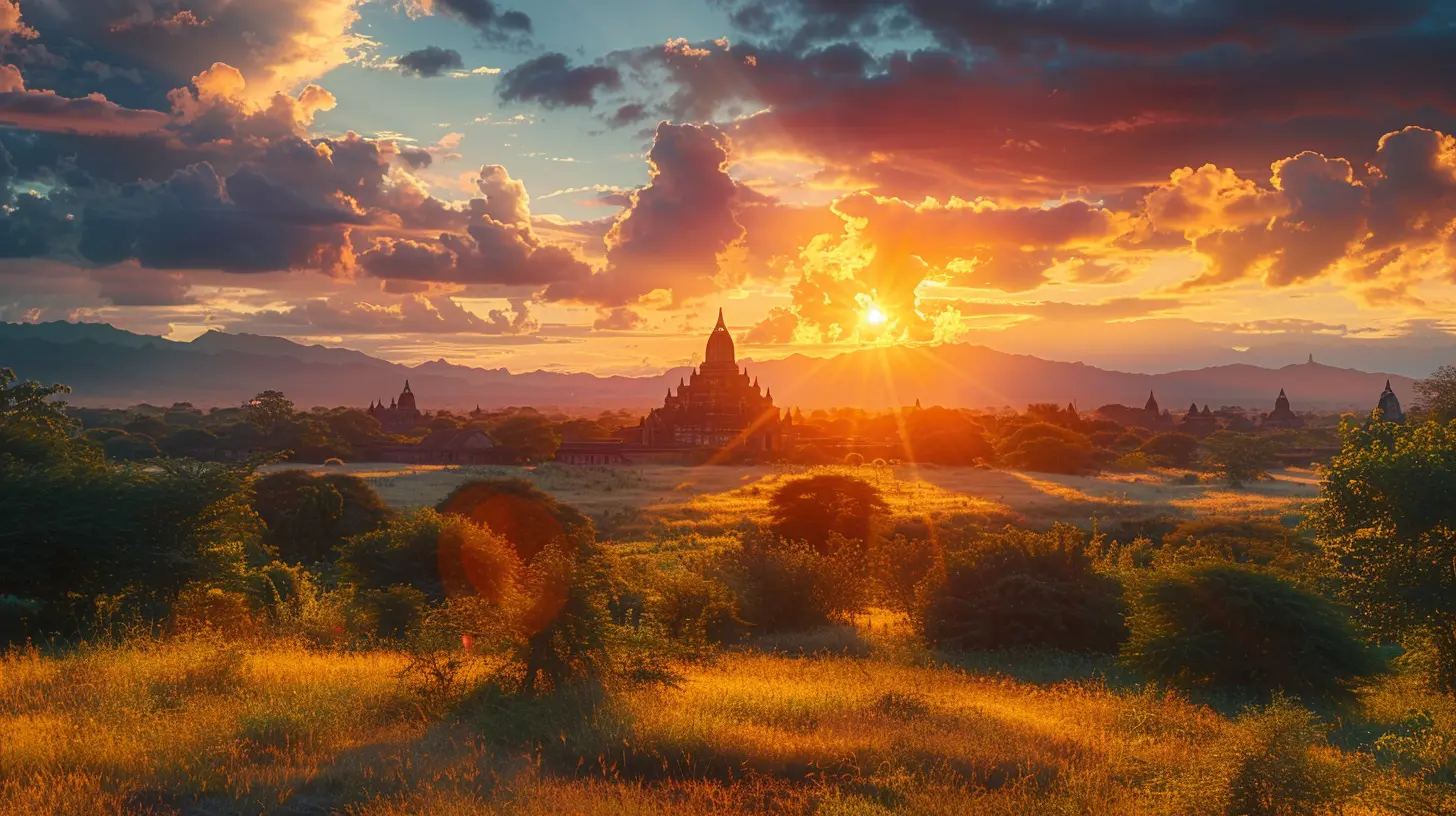
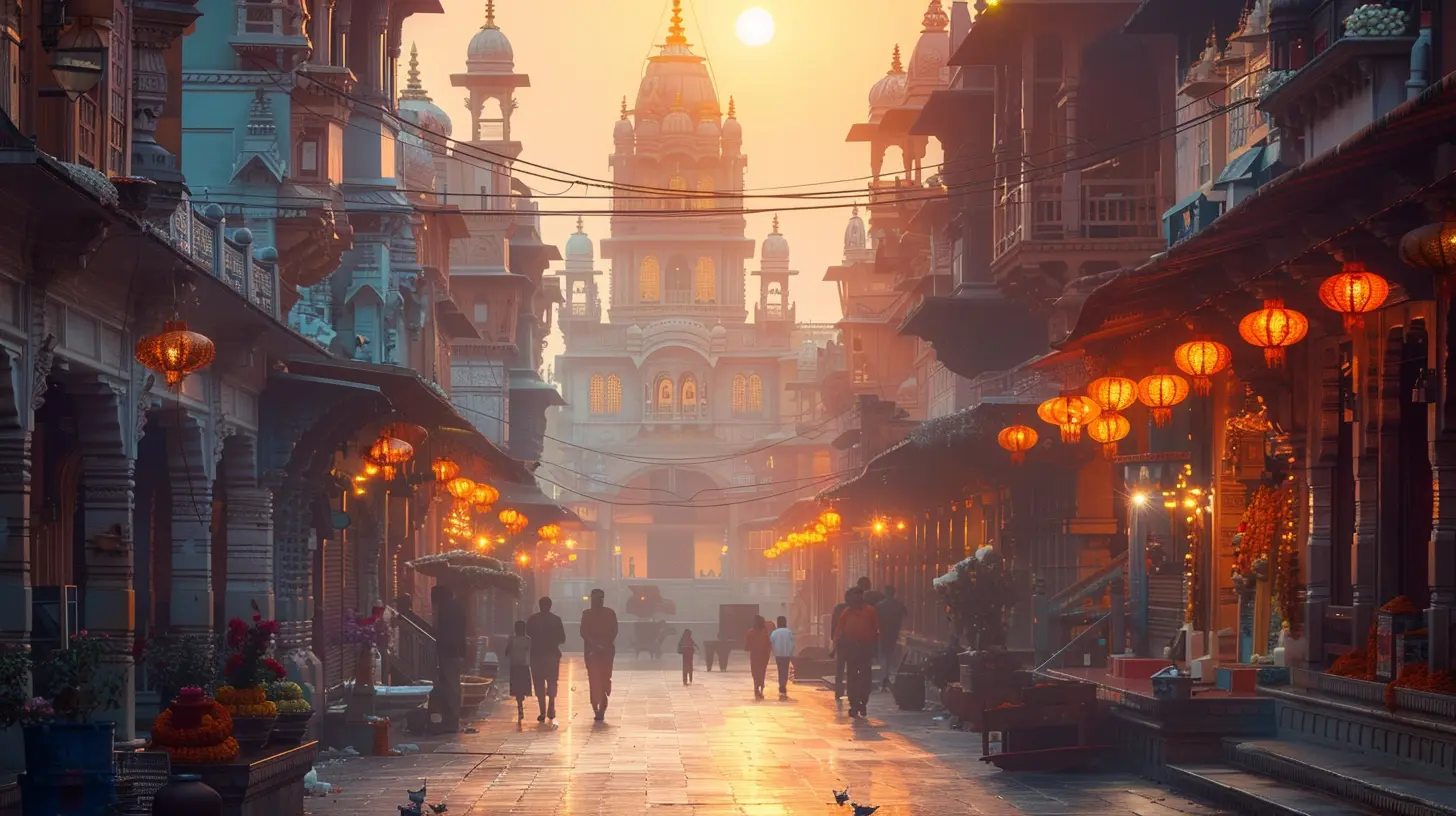
At high altitudes, the interplay of shadows and light during Golden Hour creates breathtaking contrast in mountain landscapes. The golden glow highlights the rugged textures of peaks and valleys.3. Cityscapes and Historic Sites
From towering skyscrapers to ancient ruins, cities look magical under the warm tones of Golden Hour. The softer light enhances architectural details while adding a romantic ambiance.4. Forests and Countryside
Trees bathed in Golden Hour light create a mystical atmosphere. Whether you’re capturing a quiet countryside road or a misty morning in the woods, this time of day enhances the natural beauty of these settings.5. Deserts and Open Fields
Golden Hour is perfect for vast, open landscapes. The long shadows and warm hues make deserts and fields appear endless, evoking a sense of adventure and serenity.
Common Mistakes to Avoid
Even though the Golden Hour provides ideal lighting, small mistakes can lead to missed opportunities. Watch out for these common pitfalls:- Arriving Too Late – Golden Hour is fleeting, so plan ahead and arrive early to set up.
- Ignoring Composition – Good lighting won’t save a poorly framed shot. Use leading lines, the rule of thirds, and foreground elements for a more compelling image.
- Shooting Only One Angle – Move around, reposition your subject, and try various perspectives to make the most of the light.
- Overediting Warm Tones – It’s tempting to enhance the golden hues during editing, but too much saturation can make photos look artificial. Keep editing subtle.
Final Thoughts
Golden Hour is the secret ingredient to breathtaking travel photos. Whether you’re shooting landscapes, portraits, or city scenes, this magical time of day adds warmth, depth, and drama to your images.So, the next time you’re on the road, set your alarm early or stay out late. With a bit of planning and thoughtful composition, you’ll capture shots worthy of a travel magazine. After all, the best light waits for those who are willing to chase it.
all images in this post were generated using AI tools
Category:
Travel PhotographyAuthor:

Winona Newman
Discussion
rate this article
4 comments
Kenzie Mullen
This article is a treasure trove for photographers! I'm curious—what unique techniques do you recommend for capturing the magic of the golden hour in different environments? Also, are there specific locations that offer particularly stunning views during this enchanting time?
May 24, 2025 at 3:17 PM
Winona Newman
Thank you for your enthusiasm! To capture the golden hour magic, try techniques like backlighting subjects for a glow, using silhouettes for dramatic effect, or experimenting with reflections in water. Locations like coastal beaches, mountain overlooks, and urban skylines often provide stunning views during this time. Happy shooting!
Ardent Mendoza
“Excited to learn more about capturing those magical moments during golden hour!”
May 24, 2025 at 3:15 AM
Winona Newman
Thank you! I'm excited to share tips on making the most of that beautiful golden light!
Zareth McCaw
Great tips! Can't wait to try these photography ideas!
May 21, 2025 at 3:33 AM
Winona Newman
I'm glad you found them helpful! Enjoy capturing those beautiful moments! 📸✨
Knox McCloud
Capturing the golden hour is magical; the soft light transforms landscapes and moments into unforgettable memories.
May 19, 2025 at 4:45 PM
Winona Newman
Absolutely! The golden hour truly enhances our experiences, turning ordinary scenes into extraordinary memories through its enchanting light.